Testing with Cypress
There are loads of tools aiming to help developers secure that their code works as expected. Cypress is one of these tools but stands out by being an end-to-end framework. This means that Cypress allows you to test that your application is performing the way you designed it, from start to finish. End-to-end testing is especially useful to test the features and the end user’s workflow. In React it also helps to ensure that dependencies and data is passed correctly between the different components.
In short, Cypress.io is a tool for setting up, writing, running and debugging tests. It compiles all the tests to Javascript, runs in an instance of Chrome, and lets you see the state of your user-interface during different stages of interaction.
Here at Posten we recently used Cypress.io in the “Retur”-application. We first started with Jest and Enzyme, but could eventually replace all the Enzyme tests with Cypress, and since Cypress has a built-in test runner, we could replace Jest as well. Our tests covered cases where the UI updates due to data changes, and check that the form validation works as intended. Data responses are mocked, so we assume that the endpoints work.
Setup and structure
I’m not going to go into detail on how to set it up, but if you’re interested in reading more about it, you can check out the official documentation. Running Cypress for the first time will create a bunch of example files and a standard folder structure. It’ll create a cypress folder, with the following subfolders:
Fixtures:
This is where you can store all your mock requests and responses.
Integration:
The location for all your test files, containing the Cypress tests.
Plugins and support:
These folders contain default Javascript files, with commented explanations and examples on how you can import Cypress plugins, custom commands or global configuration.
There are loads of configuration available in Cypress, and in addition to configuring in package.json, you can also create a cypress.json file, if you prefer to have it separate.
Writing tests
Form validation is a good example of what Cypress helped us test in the “Retur”-project. We wanted to make sure an error message and styling was shown when the user exited the input field, without it being filled out properly.
All the tests start with a “describe”, followed by “it”, with a description of one specific test. These methods come from the assertion library Mocha, which is built into Cypress, along with the assertion library Chai.
describe(’Addressform input validation', () => {
  it('Name input show error when empty after blur', () => {
})}
The test content itself can be split into 3 steps:
1. Visiting a page
Cypress tests your page or application in runtime, so the first thing you need to do is go to the page you want to test. This can be done with
cy.visit(“your-url”)
either in the test or a BeforeEach/Before function if you want to navigate to the site before every test. A baseUrl can also be defined in the cypress config.
2. Find elements to test on
There are several ways to find a specific DOM element. You can either find it by class name, Id or by defining a data attribute. In “Retur” we used a data attribute called “data-testid” to avoid using Ids for pure testing purposes.
cy.get("[data-testid=nameInputField]")
3. Interacting with elements
Once you’ve found the DOM Element you can chain the cy.get function, with different interactions like click, type, blur etc. Interactions are dependent on what type of DOM element you found. In our scenario, we fetched an Input field and wanted to focus and then blur the field.
cy.get("[data-testid=nameInputField]")
.focus()
.blur()
4. Assertions
Last essential part of a test is the assertion, which decides if the test passes or fails. Cypress uses Chai assertions, along with Sinon and jQuery extensions. To use these assertions you pass it in the .should function along with the expected value.
.should("have.class", "nameOfClass")
.should("be.visible")
The example above is what we used to check whatever a class was set on an element, and if an element was visible.
With all these steps put together we would in our retur scenario end up with a test looking like this:
describe("Addressform input validation", () => {
  it("Name input show error when empty after blur", () => {
      cy.get("[data-testid=nameInputField]")
      .focus()
      .blur()
      .should("have.class", "hw-input--error")
      .siblings(".hw-error").should("be.visible")
  })
})
.siblings is a shorthand for searching other DOM elements on the same “level”.
Running tests
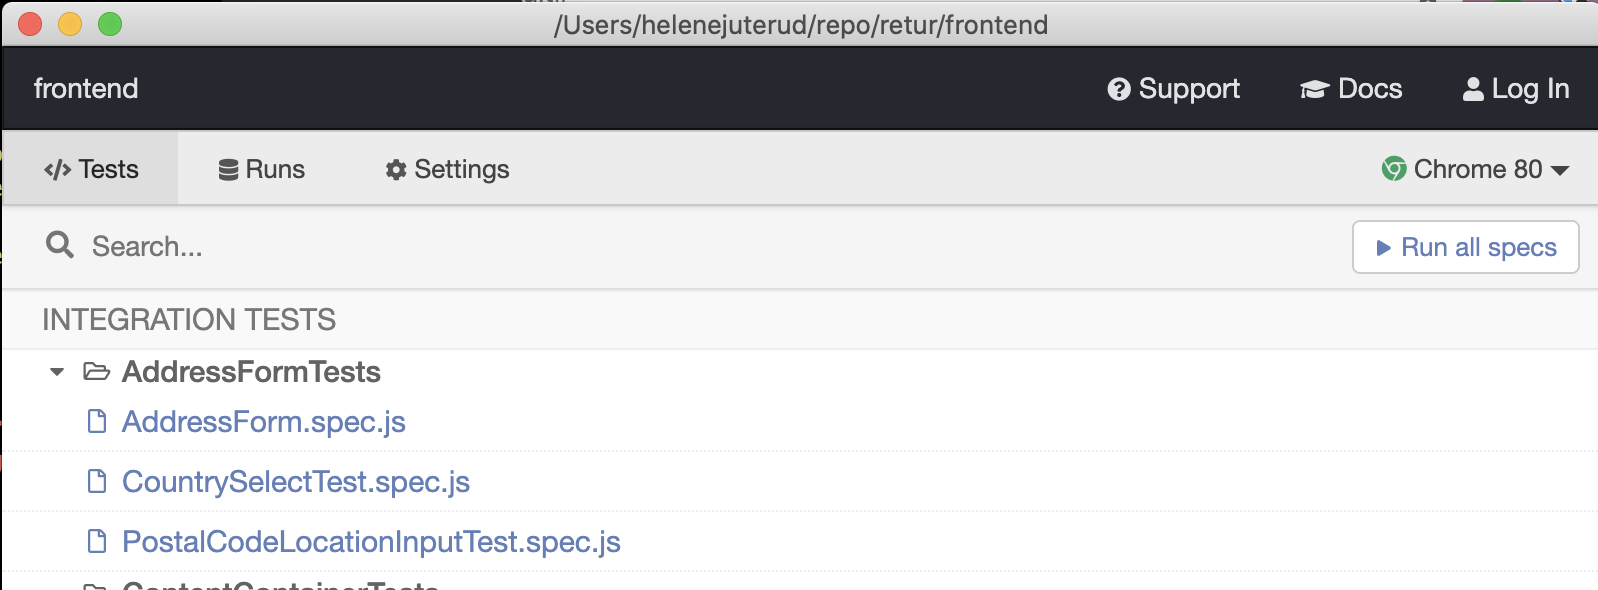
You can run all the tests directly in the command line, or you can use the test runner - also started through the terminal.

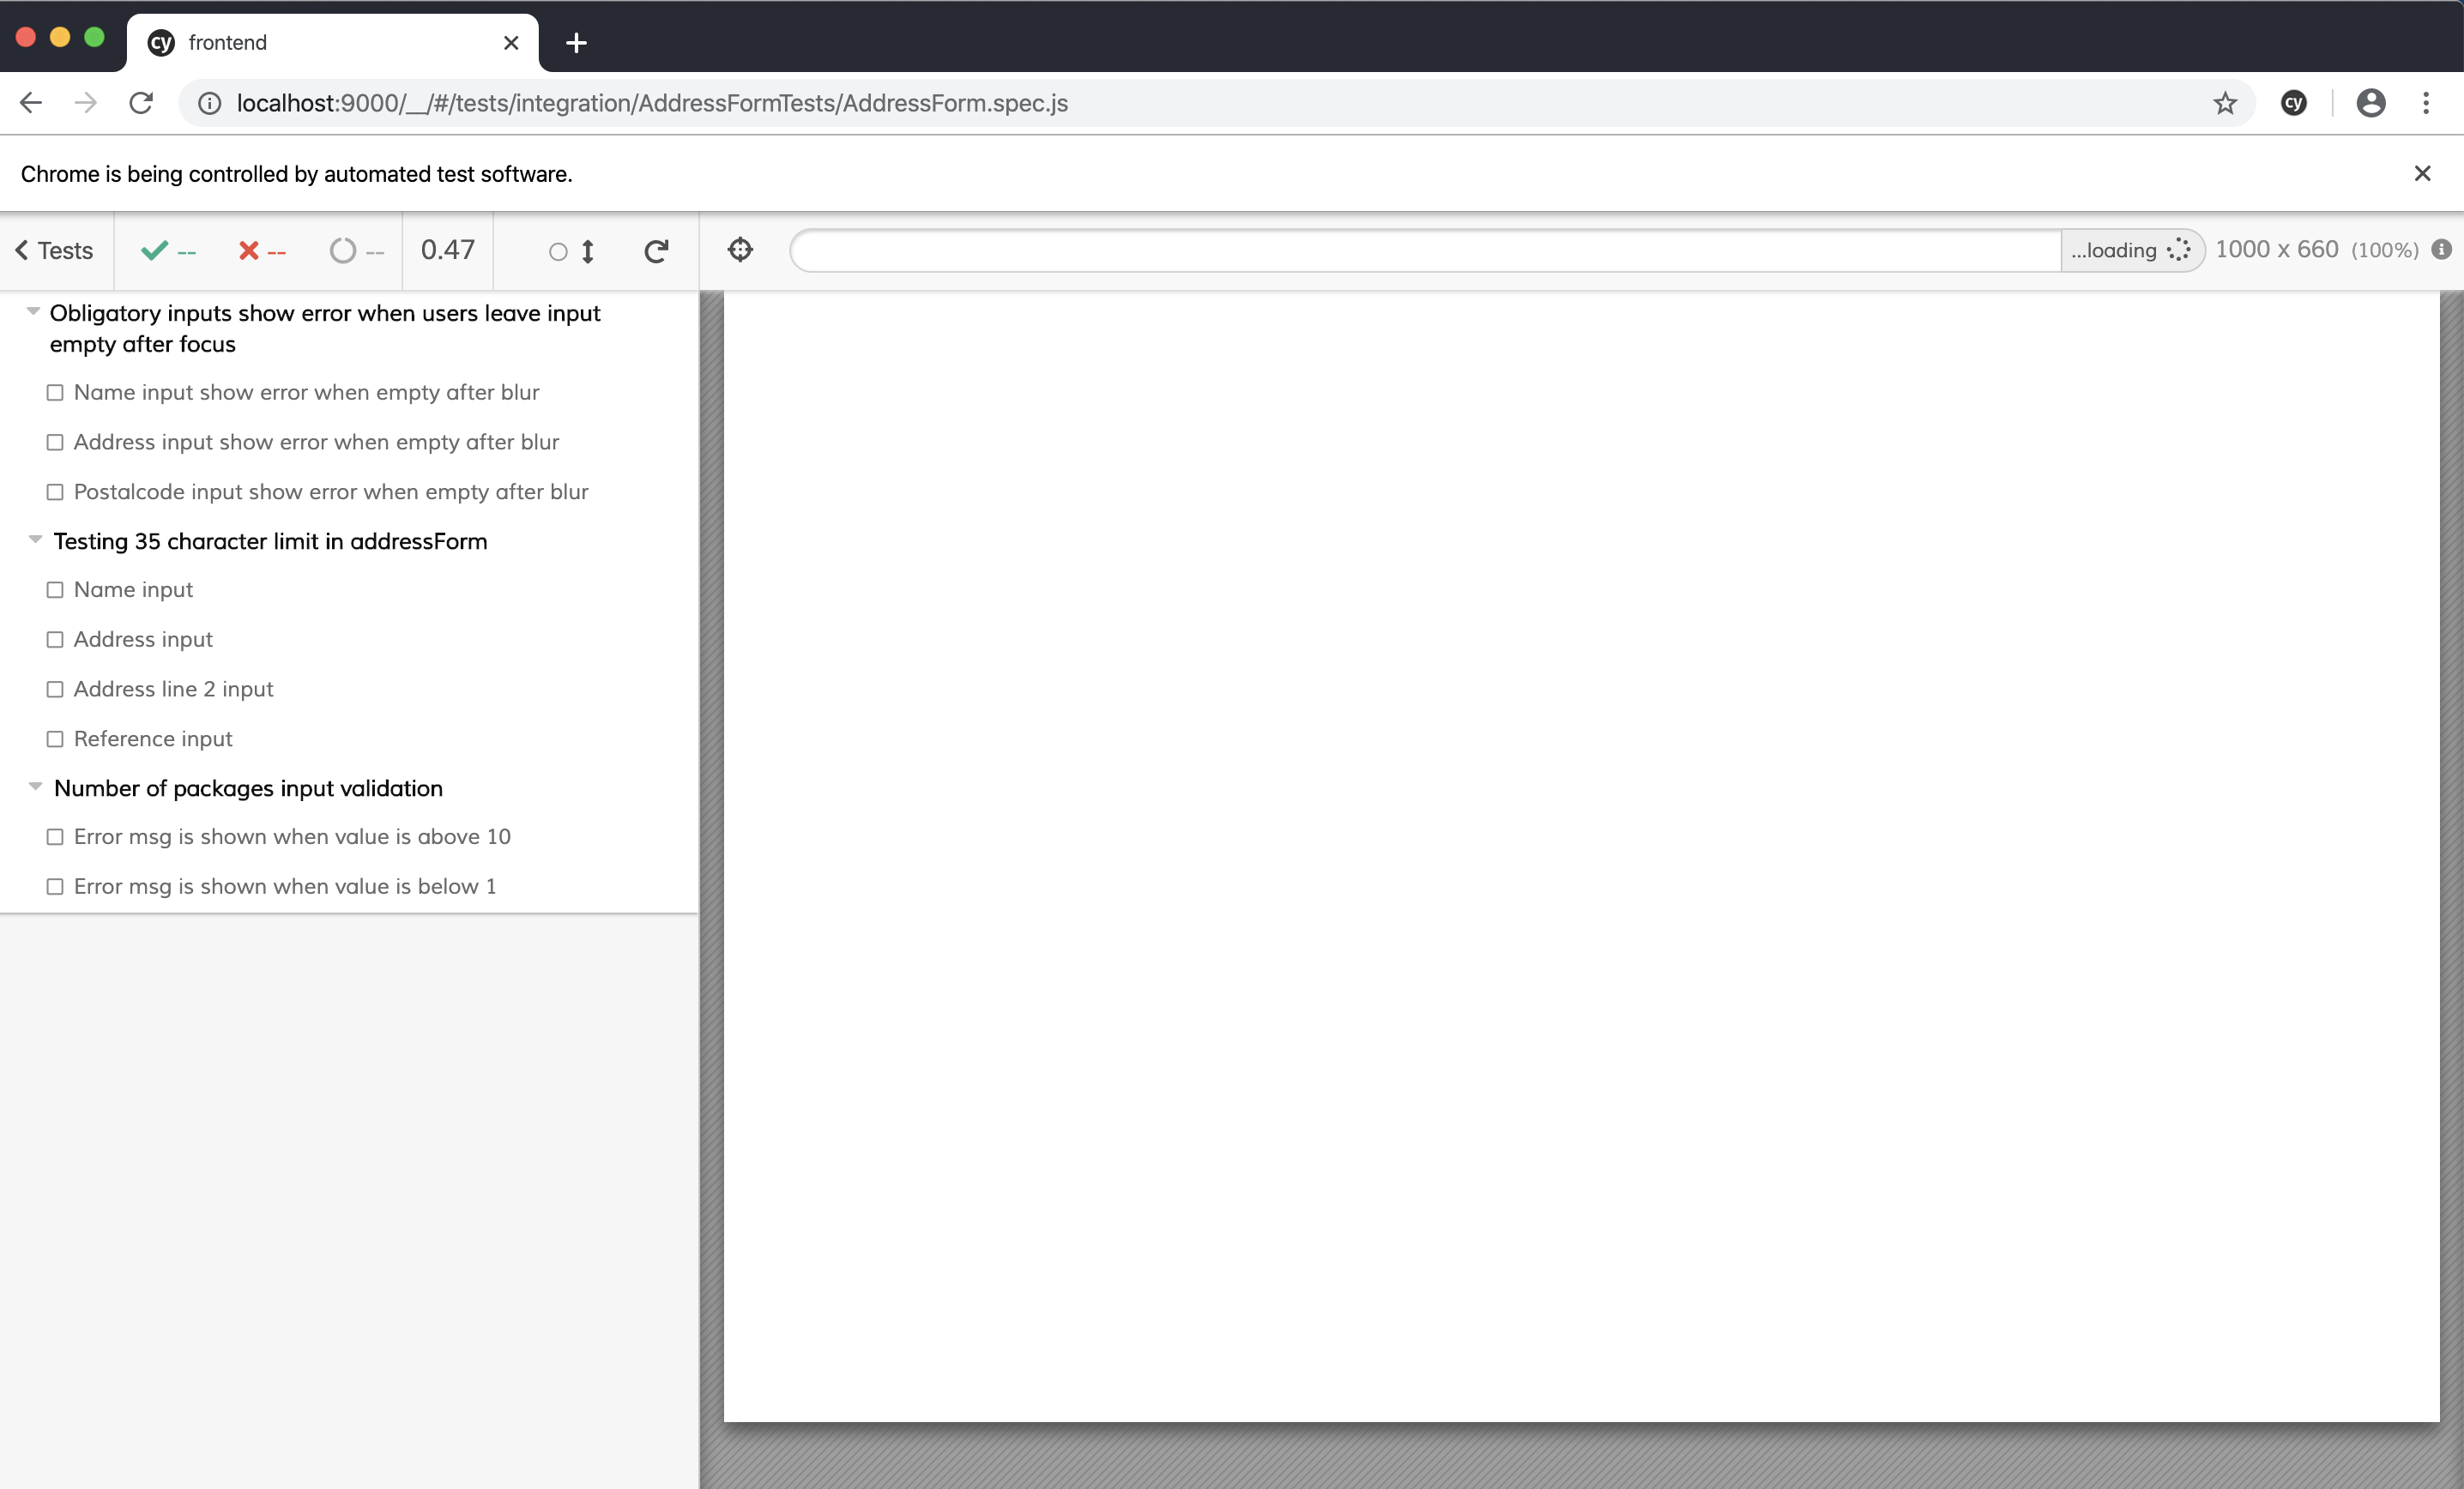
The test runner opens a window, where you’ll be able to run a specific test-file or all the tests. When running tests, a special instance of a browser will run through all the scenarios, specified in your tests. So if the URL you’ve defined in the cy.visit function is your development server, you’ll have to make sure it’s running at the same time.

The test runner lets you pause and walk through the interactions step by step. Allowing you to see all the different UI stages in a specific scenario. Test runner also lets you change the viewport sizing, see how fast the tests are running and let you choose which browser you want to run the tests in.
Why use Cypress?
As a visual thinker, and a hybrid between developer and UX-designer with limited experience in testing, I found that end-to-end testing helped to test how the users interact and see the application in certain situations.
As a tool, Cypress lets me see and direct specific scenarios, allowing me to confirm that the UI reacts the way I want to data changes and user interactions in the browser of my choosing. While Enzyme might be better and faster for unit tests, as in testing specific code, returned values etc. I found it easier to find good test cases with Cypress, as I could approach it the same way I would any old fashioned browser testing, especially since it also allows you to use dev tools while testing.
Being able to pause and see the UI step-by-step helped us discover weird between-stages bugs, like a button having the wrong state while waiting for a response. Another benefit is having everything from the test framework to the test runner built into the same tool, makes it easier to get an overview and find all the information in one place.
Are you looking to test logic or scenarios that can be tested runtime in the browser? Then Cypress is worth a try! It’ll provide you with the ability to see your UI step-by-step, test in multiple browsers, easy to understand syntax and with everything you need to run a test in one package. But as with any other testing tool, the tool is only as good as the tests you write.